How to Change a Pellet Mill Die: When, How and What to Check
News 2026-11-04
A die change is not a difficult job, but it is a job where the small details decide whether the new die runs for a full campaign or starts blinding in the first week. The die has to be seated correctly, the roller gap has to be reset on every roller, the bolts have to be tightened in the right sequence and to the right torque, and the new die has to be loaded before production material reaches it. Skipping any of those steps produces a symptom that looks like a defective die, when the fault is in the fitting.
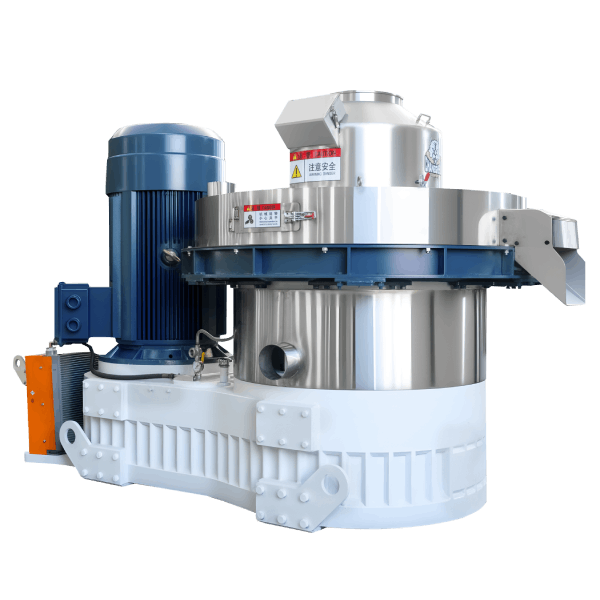
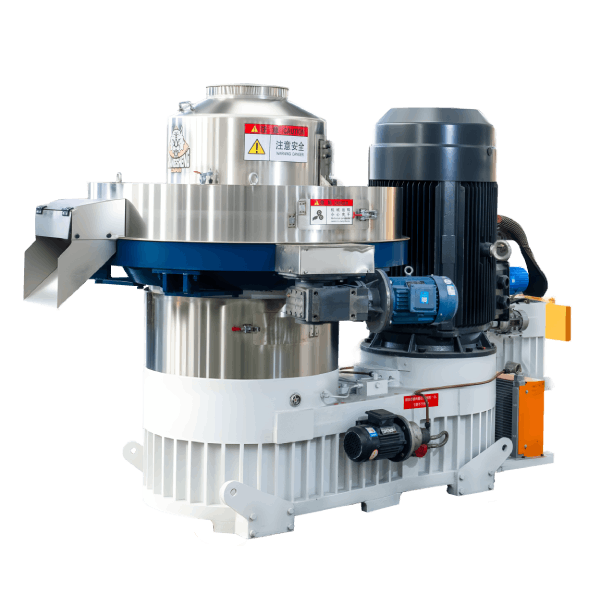
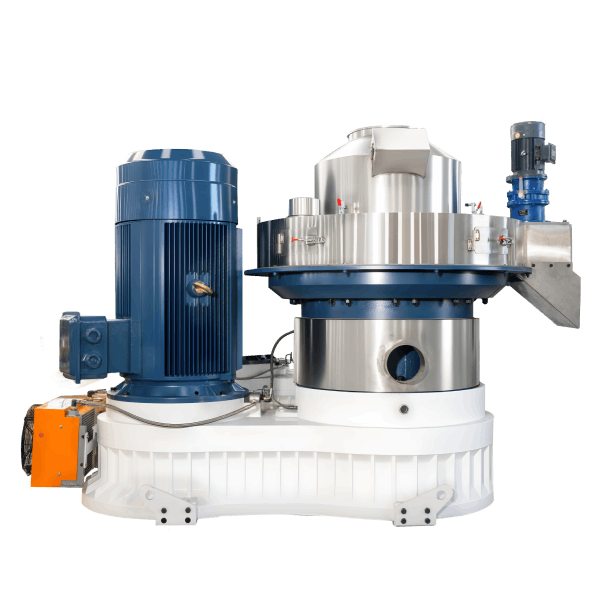
This page covers the die change on an industrial ring die pellet mill: how to tell when the die needs changing, what to prepare before the machine is stopped, how to remove a die that has seized, how to refit it, how to set the roller gap, and what to check before the mill is restarted. Shandong Changsheng Machinery supplies ring die pellet mills and dies, and the procedure below reflects how these machines are maintained in service. It is written for the maintenance technician and for the supervisor who signs off the restart.
The short answer
A die change has three phases: preparation before the stop, removal and refitting, and the checks before restart. The refitting is where most problems are created, because a die that is not seated, a roller gap that is not reset, or bolts that are not tightened in sequence will produce uneven wear or blocked holes in the first days of the new die.
The practical rule: change the die when the wear signals justify it rather than on a fixed calendar; refit it clean and correctly seated; tighten the bolts in stages and in the specified sequence; reset the roller gap on every roller; load the die before production material is fed; and re-torque the bolts after the first few hours of running.
When the die needs changing
A die does not fail at a single moment. It wears gradually, and the decision to change it should be based on measurable signals rather than on a fixed number of hours.
The signals to watch are a fall in output at the same feed setting, a rise in fines or a fall in pellet durability, visible wear on the die face or the hole edges, a rise in power draw for the same throughput, and an increase in the number of blocked holes that have to be reamed. When several of those appear together, the die is at the end of its useful life on that material.
The decision is economic as well as technical. A worn die consumes more power and produces a lower-quality pellet, and the cost of those losses can exceed the cost of the die itself well before the die shows obvious hole wear or surface cracking. The replacement should be planned against the production schedule rather than forced by a failure in the middle of a contract.
Preparation before the stop
The preparation is what makes the change quick and safe. The die, the roller assembly, the gaskets, the bolts, and the tools should be on site before the machine is stopped, and the new die should be checked against the specification it was ordered for, including the hole diameter, the compression ratio, and the material grade.
The material in the bin and in the feeder should be run down or isolated, the mill should be stopped and locked out, and the die should be cleared of the material from the last run before the retaining bolts are released. The die is cleared when the holes are open and the die face is free of set material; a die left full of set material is harder to remove and is more likely to damage the die seat when it comes out.
Removing the die
With the mill locked out, the die retaining bolts are released in the sequence specified by the manufacturer, working gradually around the die rather than fully releasing one bolt at a time. The die is then lifted out with the lifting equipment rated for its weight, and set down on a clean surface where it will not be damaged.
If the die has seized on the seat, it should not be freed by hammering the die face or the working surface, because that distorts the die and damages the holes. The usual approach is to apply penetrating oil around the joint, allow it time to work, and apply force evenly at symmetrical points on the die body with a suitable puller or lifting arrangement. If the die still does not move, the cause is usually corrosion or set material in the seat, and the seat should be cleaned and re-treated before another attempt is made rather than increasing the force.
The die seat and the mating surfaces should be inspected once the die is out. Any material, rust, or burr on the seat will prevent the new die from seating correctly and will produce vibration and uneven wear. The seat should be cleaned and checked for flatness before the new die is offered up.
Refitting the new die
The new die is lifted into place with the same equipment and seated on the cleaned seat. The retaining bolts are fitted and tightened in stages, working in the sequence specified by the manufacturer rather than fully tightening one bolt before moving to the next.
The usual staging is to bring all bolts to hand-tight, then tighten them in the specified sequence to about half the specified torque, then to the full torque in the same sequence, and then to run a final check pass around the bolts in the same order. Tightening one bolt to full torque before the others are seated distorts the die body, shifts the hole pattern, and produces uneven load around the die face, which is the reason the sequence and the staging matter as much as the final torque figure.
The die should be checked for correct seating and for free rotation where the design allows it, before the roller assembly is refitted.
Setting the roller gap
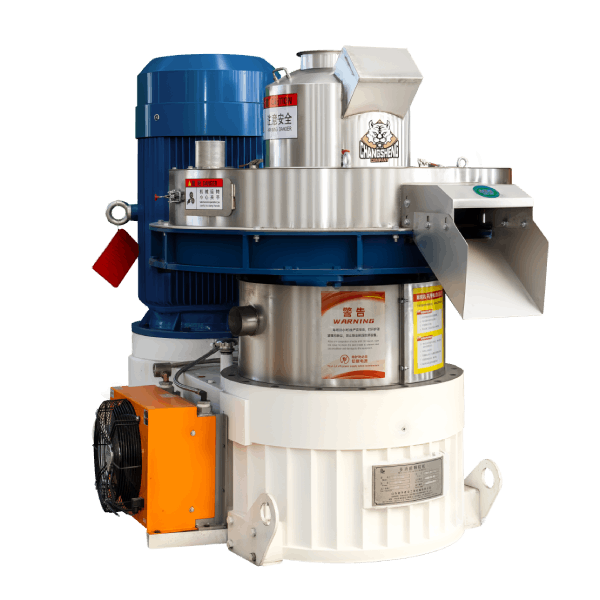
The roller gap is the clearance between the rollers and the die, and it is the setting that most affects how the new die wears and how the mill performs in the first weeks. The gap should be set to the manufacturer’s specification for the material and the die, using the adjustment mechanism and the feeler gauge or the method the manufacturer specifies.
A gap that is too wide produces slipping and blocked holes. A gap that is too tight raises the load and the temperature at the die face, which accelerates wear on both the die and the rollers. The gap should be checked and set on every roller, because a single roller that is set differently will produce uneven wear across the die and a pellet quality that varies around the die face.
Checks before restart
Before the mill is restarted, the following should be confirmed. The die is seated and the bolts are tightened as specified. The roller gap is set and checked on every roller. The lubrication has been restored and the oil level is correct. The guards are refitted and the lock-out has been removed by the person who applied it. The feeder and the bin are clear, and the loading material is ready.
The die should then be loaded before production material is fed, using the die loading procedure for the material. A new die has no material in its holes and no heat in its body, and feeding production material straight into it is the most common reason a new die blinds in the first hours.
Re-torque after the first hours of running
A new die settles after the first few hours of running, as the die body comes up to temperature and the bolts take up the initial compression of the gaskets and the seat. The retaining bolts should be re-checked and re-torqued to the specified value in the specified sequence after the first production run, at the interval the manufacturer recommends. Skipping this step leaves the die with a lower preload than it was fitted with, and the result is vibration, uneven wear, and in the worst case a loose die.
Common mistakes in a die change
Not cleaning the die seat. The new die does not seat correctly, and the mill vibrates or wears unevenly from the first run.
Tightening the bolts in the wrong sequence or in a single pass to full torque. The die distorts, and the holes closest to the over-tightened bolts wear faster.
Setting the roller gap on one roller only. The die wears unevenly around its face, and pellet quality varies with the position of the hole.
Freeing a seized die by hammering the working surface. The die face is distorted and the holes are damaged, and the die has to be replaced before it has run.
Feeding production material into a new die. The die blinds in the first hours, and the operator concludes that the die is defective.
Skipping the re-torque after the first run. The die runs with a lower preload than it was fitted with, and vibration and uneven wear follow.
Die change and spare parts planning
The die change is also a spare parts decision. Keeping one die on the shelf means the mill can be back in production the same day, while ordering a die after the old one has failed means a stoppage measured in weeks rather than hours, depending on the lead time. The spare die should be ordered with the specification confirmed against the material and the pellet diameter, and it should be stored in a way that protects it from rust and mechanical damage.
Bottom line
A die change has three phases: preparation before the stop, removal and refitting, and the checks before restart, followed by a re-torque after the first production run. Change the die on the wear signals rather than on a calendar. Prepare the die, the tools, and the lifting equipment before the machine is stopped, clear the die before releasing the bolts, and free a seized die with oil and even force rather than with a hammer. Clean the die seat, refit the die, tighten the bolts in stages and in the specified sequence, set the roller gap on every roller, load the die before production material is fed, and re-torque the bolts after the first hours of running. The most common mistakes are a dirty die seat, uneven bolt tightening, a roller gap set on one roller only, hammering a seized die, feeding production material into a new die, and skipping the re-torque. Keep a spare die on the shelf, because the cost of a stoppage while a die is on order is usually larger than the cost of the die itself.
If you are planning a die change or a spare die order for a ring die pellet mill and need the specification confirmed for your material, send the material type, the pellet diameter, the die specification currently in use, and the target capacity, and the Shandong Changsheng Machinery team can confirm the die specification and the roller gap setting for that configuration.