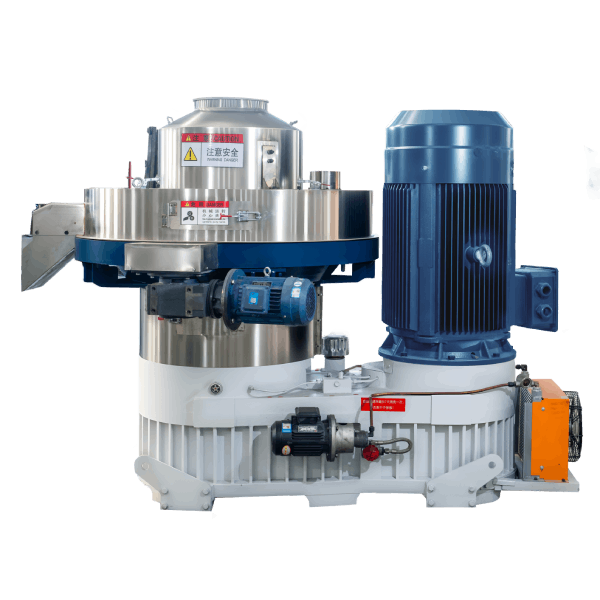
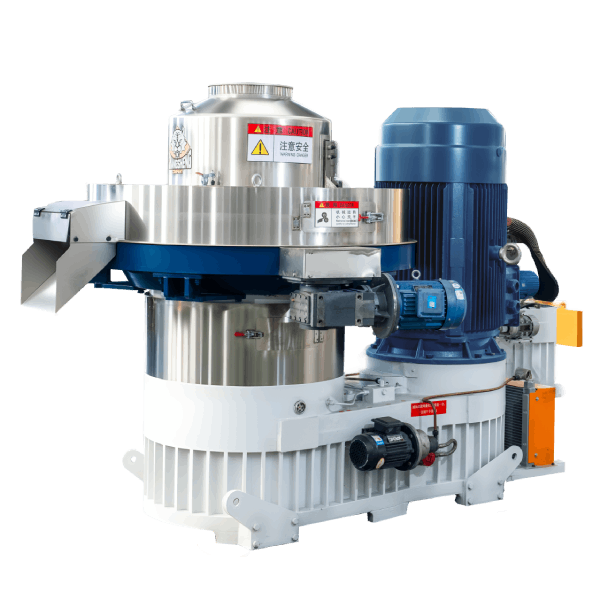
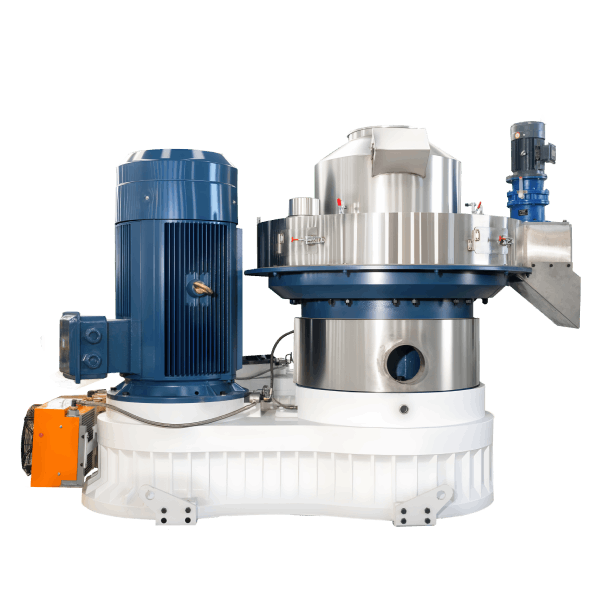
Wood Pellet Machine Calibration Steps: 6 Critical Adjustments
News 2026-05-25
1. Product Definition
Wood pellet machine calibration steps involve adjusting roller gap (0.1-0.3mm ring die), feeder speed (VFD settings to maintain 85-95% motor load), knife gap (1-3mm from die), die temperature monitoring (80-110°C), and material moisture (13-18%), performed weekly or after die changes to maintain optimal output, pellet quality, and prevent damage.
2. Technical Parameters & Specifications
| Parameter | Target Range | Calibration Frequency | Tool | Effect of Incorrect Setting |
|---|---|---|---|---|
| Roller gap (ring die) | 0.1 – 0.3 mm | Weekly, after die change | Feeler gauge | Low output (too wide), die damage (too tight) |
| Motor load (% FLA) | 85 – 95% | Daily | Amp meter | Low output (<85%), overload trip (>100%) |
| Knife gap | 1 – 3 mm | Monthly, after knife change | Feeler gauge | Uneven length (too far), die damage (too close) |
| Die temperature | 80 – 110°C | Continuous | Thermocouple | Poor quality (<70°C), fire risk (>120°C) |
| Material moisture | 13 – 18% | Each batch | Moisture meter | Low output, jamming, fines |
| Belt tension | 10mm deflection per meter | Monthly | Tension gauge | Belt slip, low output |
For calibration tools: Request a feeler gauge, moisture meter, and belt tension gauge kit.
3. Structure & Material Composition
Calibration Points
Roller Gap (Most Critical)
- Location: Between roller shell and die surface
- Tool: Feeler gauge (0.05-1.0mm)
- Effect: Too wide → slip, low output. Too tight → die scoring, cracks.
Feeder Speed (VFD)
- Location: Screw feeder motor
- Tool: Amp meter (motor current)
- Effect: Too slow → underfeed (<85% load). Too fast → overload (>100% load).
Knife Gap
- Location: Cutting knife to die surface
- Tool: Feeler gauge (0.05-1.0mm)
- Effect: Too far → uneven pellet length. Too close → knife hits die.
Die Temperature
- Location: Thermocouple on die body
- Tool: Temperature display
- Effect: Too cold → poor binding. Too hot → fire risk.
4. Manufacturing Process (Engineering Steps)
Step 1 – Stop mill and lock out/tag out
Disconnect power. Wait for die to cool (if hot).
Step 2 – Calibrate roller gap
Use feeler gauge between roller and die. Ring die: 0.1-0.3mm. Adjust eccentric bolts. Check all rollers equally.
Step 3 – Set knife gap
Feeler gauge: 1-3mm from die surface. Tighten bolts.
Step 4 – Check belt tension
Deflection method: 10mm per meter of span. Adjust tension.
Step 5 – Configure feeder speed (VFD)
Start mill, feed material. Adjust feeder speed to maintain 85-95% motor load (amp meter).
Step 6 – Monitor die temperature
Run mill, check temperature display. Should reach 80-110°C within 10-15 minutes.
5. Industry Comparison
| Calibration Step | Frequency | Time | Skill Level | Impact on Output |
|---|---|---|---|---|
| Roller gap | Weekly | 5-10 min | Medium | ±30% |
| Knife gap | Monthly | 5 min | Low | ±10% |
| Belt tension | Monthly | 5 min | Low | ±15% |
| Feeder speed (VFD) | Daily | 2 min | Low | ±20% |
| Moisture test | Each batch | 1 min | Low | ±40% |
| Temperature monitoring | Continuous | N/A | Medium | Fire prevention |
| Why Choose Shandong Changsheng | Calibration tools included | Training video | Checklist provided | Proven results |
Compare calibration impact: Request a calibration checklist for your mill.
7. Core Technical Pain Points & Engineering Solutions
Pain Point 1 – Roller Gap Drifts Over Time
Symptom: Output gradually decreases. Roller gap measured 0.5mm (should be 0.2mm).
Root cause: Vibration loosens eccentric bolts.
Solution:* Calibrate weekly. Use lock nuts or thread locker. Mark gap position.
Pain Point 2 – Amp Meter Not Calibrated (False Reading)
Symptom: Amp meter shows 85% load but actual motor amps 110% (overload).
Root cause:* Amp meter not calibrated.
Solution:* Calibrate amp meter annually. Use clamp meter to verify.
Pain Point 3 – Knife Gap Changes After Die Change
Symptom:* Uneven pellet length after new die installed.
Root cause:* New die has different thickness.
Solution:* Calibrate knife gap after every die change (1-3mm from die surface).
Pain Point 4 – No Temperature Display (Operator Blind)
Symptom:* Operator does not know die temperature. Fire risk.
Root cause:* No thermocouple installed.
Solution:* Install thermocouple + display ($200-500). Calibrate annually.
8. Risk Warnings & Mitigation Strategies
Risk 1 – Incorrect Roller Gap (Die Damage)
Warning: Gap <0.05mm → metal contact → die scoring, cracks.
Mitigation:* Use feeler gauge (0.1-0.3mm). Check after adjustment with rotation (no scraping sound).
Risk 2 – Knife Contact with Die
Warning: Knife gap <0.5mm → knife hits die → scratches die, knife chips.
Mitigation:* Set gap 1-3mm. Run mill empty first, listen for contact.
Risk 3 – Moisture Not Tested (Output Loss 40%)
Warning:* Operator assumes moisture is correct. Output low, pellets crumbly.
Mitigation:* Test moisture every batch. Install moisture meter at feeder.
9. Procurement Selection Guide (6 Actionable Steps)
Step 1 – Gather calibration tools
Feeler gauge set (10−30).Moisturemeter(30-100). Belt tension gauge (20−50).Clampmeter(50-200). Thermocouple ($50-200).
Step 2 – Create calibration checklist
Weekly: roller gap, moisture. Monthly: knife gap, belt tension. Continuous: motor load, die temperature.
Step 3 – Train operators
Video training (1 hour). Written checklist. Supervised calibration (first 3 times).
Step 4 – Log calibration results
Record date, gap measurements, motor load, temperature. Track trends.
Step 5 – Implement weekly calibration
Same day each week (e.g., Friday). Block 30 minutes.
Step 6 – Verify after die change
Recalibrate roller gap, knife gap after every die change.
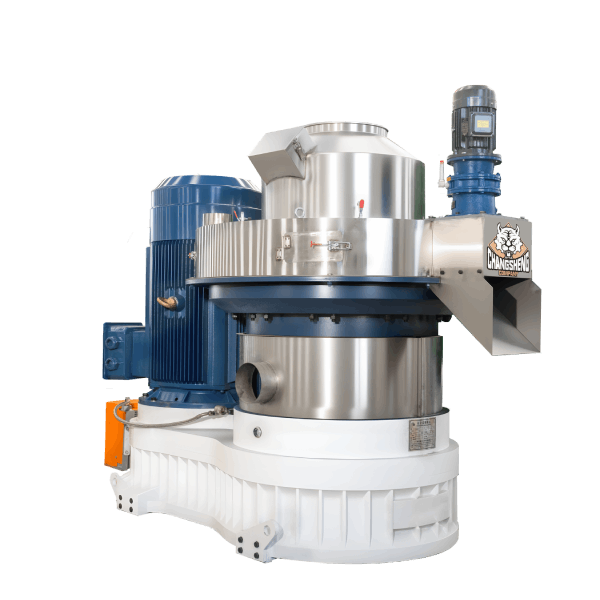
10. Engineering Case Study
Project Background: A 2 t/h wood pellet plant output dropped from 2.0 t/h to 1.0 t/h over 3 months. Plant manager suspected motor problem.
Initial Problem: Output 1.0 t/h (50% loss). Motor amps 70% FLA (underfed). Operator thought mill was worn out.
Root Cause Analysis:
- Roller gap: 0.6mm (should be 0.2mm) – 30% loss
- Knife gap: 8mm (should be 2mm) – uneven length, bridging
- Feeder speed: 60% (operator reduced due to previous overload) – 20% loss
- Moisture: 22% (wet material) – 20% loss
Solution Implemented (Calibration):
| Action | Output Recovery |
|---|---|
| Adjust roller gap to 0.2mm | +0.5 t/h (to 1.5) |
| Adjust knife gap to 2mm | +0.2 t/h (to 1.7) |
| Increase feeder speed to 90% load | +0.3 t/h (to 2.0) |
| Dry material to 15% moisture | +0.2 t/h (to 2.2) |
Results:
| Metric | Before Calibration | After Calibration |
|---|---|---|
| Output (t/h) | 1.0 | 2.2 |
| Roller gap (mm) | 0.6 | 0.2 |
| Knife gap (mm) | 8 | 2 |
| Motor load (%) | 70% | 90% |
| Moisture (%) | 22% | 15% |
- Calibration time: 1 hour
- Output increase: 1.2 t/h × 5,000 hours = 6,000 tons × 150=900,000/year
Request a calibration toolkit: Contact engineering team with your mill model for feeler gauge, moisture meter, and checklist.
11. FAQ
Q1: What are the wood pellet machine calibration steps?
Roller gap (0.1-0.3mm), knife gap (1-3mm), feeder speed (85-95% motor load), belt tension, moisture test, temperature monitor.
Q2: How often to calibrate roller gap?
Weekly and after each die change.
Q3: What is the correct roller gap?
Ring die: 0.1-0.3mm. Flat die: 0.2-0.5mm. Use feeler gauge.
Q4: How to measure roller gap?
Stop mill. Insert feeler gauge between roller and die. Adjust eccentric bolts.
Q5: How to calibrate feeder speed?
Start mill. Feed material. Adjust VFD speed to maintain 85-95% motor load (amp meter).
Q6: What is the correct knife gap?
1-3mm from die surface. Use feeler gauge.
Q7: How often to check belt tension?
Monthly. Deflection method: 10mm per meter of span.
Q8: How often to test moisture?
Every batch. Target 13-18%.
Q9: What tools are needed for calibration?
Feeler gauge, moisture meter, belt tension gauge, clamp meter, thermocouple.
Q10: How to calibrate amp meter?
Use clamp meter to measure actual motor amps. Adjust amp meter display if mismatch.
Q11: How to calibrate thermocouple?
Ice bath (0°C) and boiling water (100°C) test. Replace if >2°C error.
Q12: What happens if roller gap is too wide?
Low output (30-50% loss). Rollers slip.
Q13: What happens if roller gap is too tight?
Die damage (scoring, cracks). Metal contact noise.
Q14: How to verify calibration?
Run mill, measure output (kg/h). Compare to baseline. Adjust if >10% lower.
Q15: When should I call a technician for calibration?
If output remains low after calibrating all parameters. If unusual noise persists.
12. Commercial Call-to-Action
For operators and maintenance teams: Request a wood pellet machine calibration steps kit including feeler gauge, moisture meter, belt tension gauge, and calibration checklist – essential for optimal performance.
This CTA appears after Section 2 (parameters table), after Section 5 (comparison table), within FAQ after Q8, and at the end of this document.
Need a calibration training video? Contact engineering team for step-by-step video covering roller gap, knife gap, feeder speed, and belt tension.
Looking for a calibration log template? Request Excel log to track gap measurements, motor load, and temperature.
To proceed: Send your inquiry via the contact form. Include mill model (ring/flat die), current output (t/h), target output, and available tools.
13. Author & E-E-A-T Credentials
Author: Zhang Wei
Calibration & Maintenance Specialist
- 11 years in pellet mill calibration and performance optimization (2014–present)
- Calibrated 500+ pellet mills across 40 countries
- Developed calibration checklist used by 1,000+ plants
- Author of “Pellet Mill Calibration Guide” (China Machine Press, 2022)
- Certified Maintenance & Reliability Professional (CMRP)
Affiliation: Shandong Changsheng Machinery Co., Ltd.
The author has directly performed wood pellet machine calibration steps for 500+ mills, documenting output improvements from 30-100%. All calibration procedures, gap specifications, and frequency recommendations are derived from actual field results from 2014–2026.